While I have been hand quilting for many years, I decided to try my hand at machine quilting. The project is a rag quilt.
After seeing pictures and videos online, I decided to take the plunge. I really have always been against machine quilting because that takes the art out of quilting. What made me decide to try this is I want to make some lap quilts for donation, and to be able to serve more people, the speed of machine quilting would be beneficial.
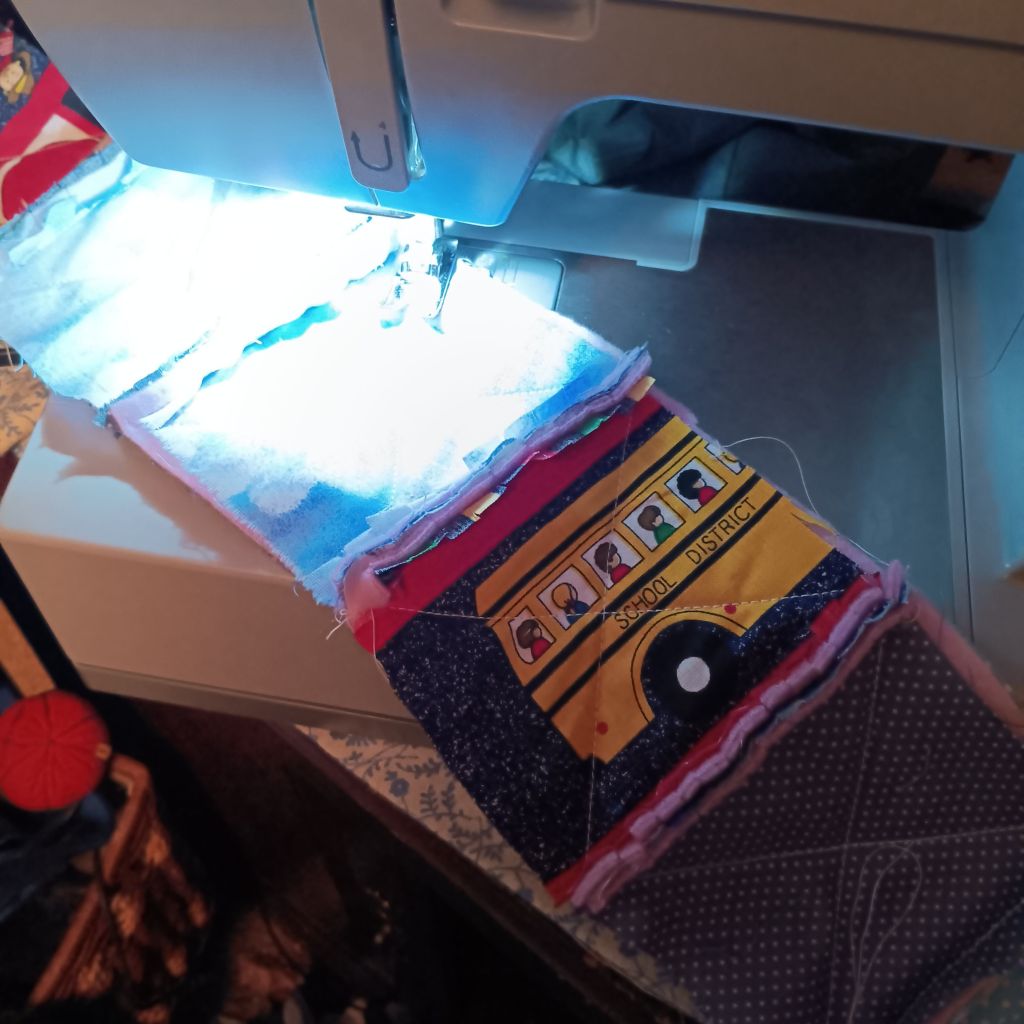
The picture above is just the first row of this baby rag quilt. For adult quilts, you would use 8-10″ blocks, but for this baby rag, I decided to go with a 4″ block.
The only thing I hate about quilting is cutting out the pieces. I just happened to have a 4″ template, which made the chore easier.
For the middle of the squares, I chose a nice fleece instead of batting so that the thickness would be consistent.
I wanted it reversible, so I put equally bright blocks on both the front and the back. To join the blocks, just stitch the seam after you make a sandwich of (top, fleece, and bottom) to the next block. After you get the seam done, clip the seam roughly every quarter inch, making sure you don’t clip the seam you just made.
When you decide to stitch, the Xs across the block is up to you. If you are working on a larger quilt, I would probably do it before you go to the next block. Because I am doing a small quilt, I am doing by the rough.
Things you will for this project:
1. Fabric for top squares (amount depends on size quilt you want to make).
2. Scissors
3. Rotary Cutter
4. Cutting Mat
5. Ruler (to help in trimming rows)
6. Filler (batting or fleece) the amount would be the same as for the backing.
7. Fabric for backing
I am looking forward to my next day of quilting. How about you?
Have a great day!

Leave a comment