From A Sketch To Cross Stitch Art

While I enjoy all kinds of arts and crafts I think my bigger joy is in design. When you can take a concept to a finished product it is always rewarding. It’s that long road from a simple idea and the steps that follow that make it intriguiging.

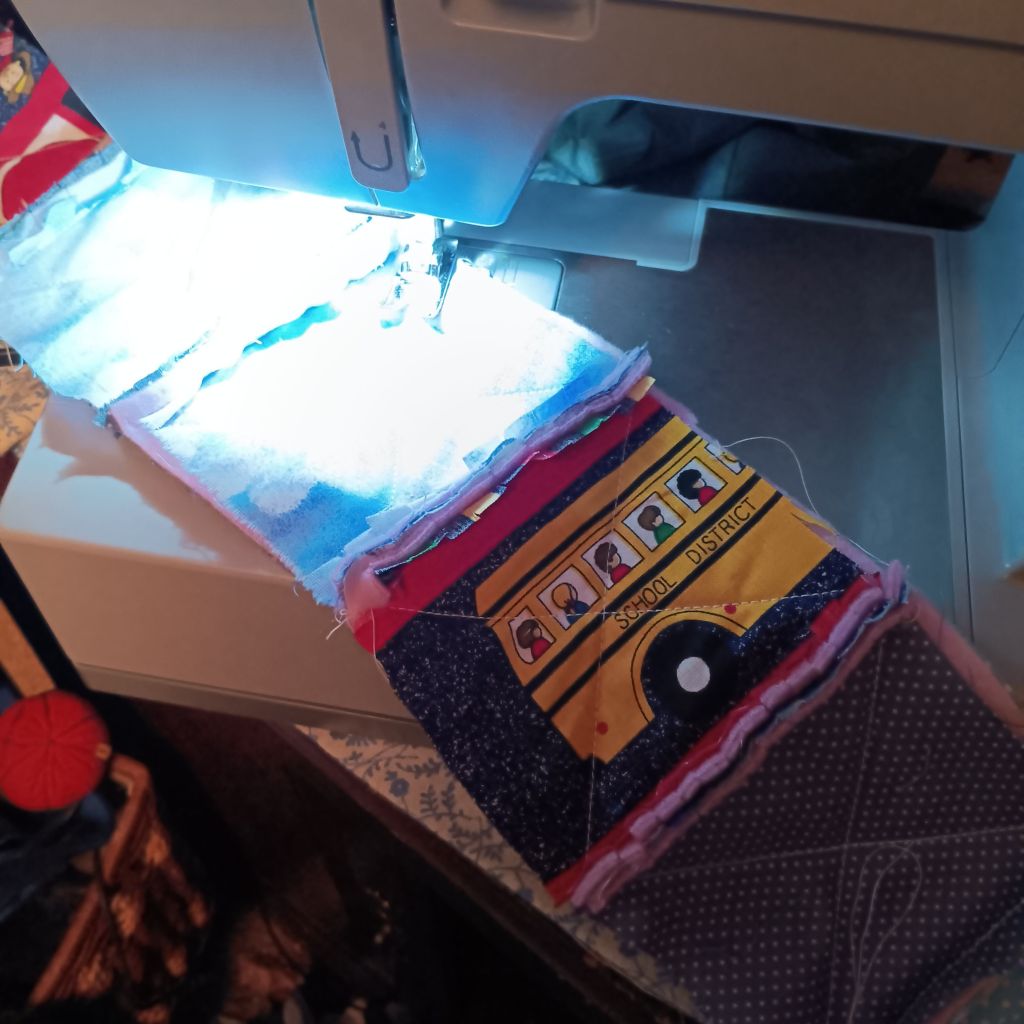
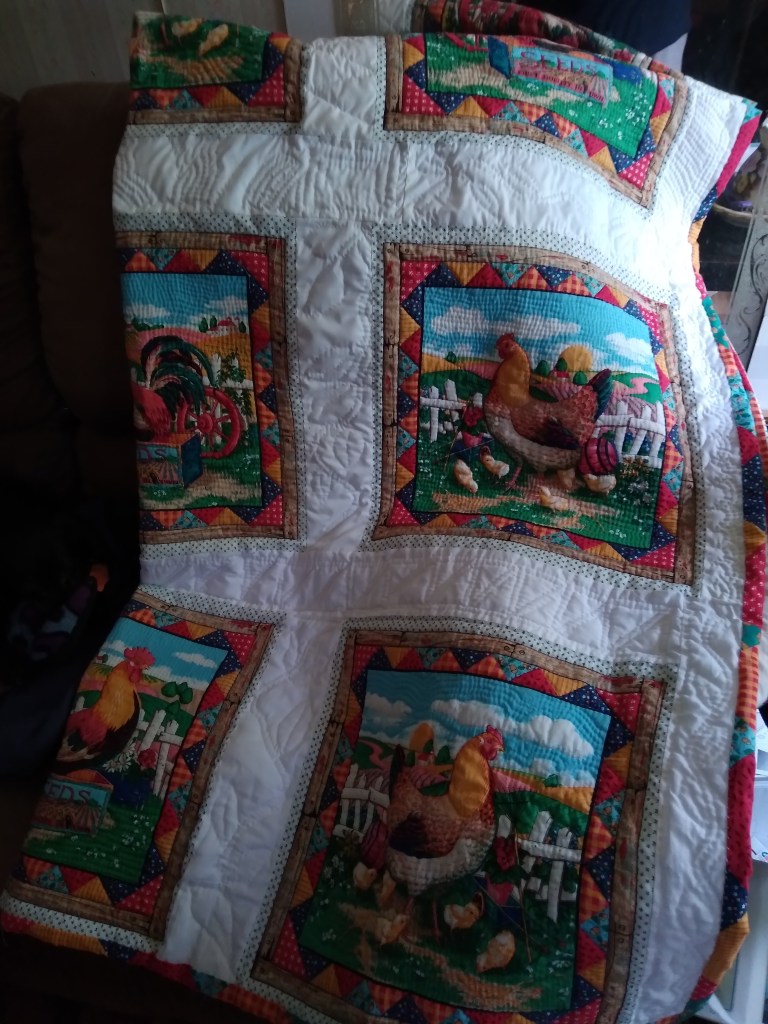
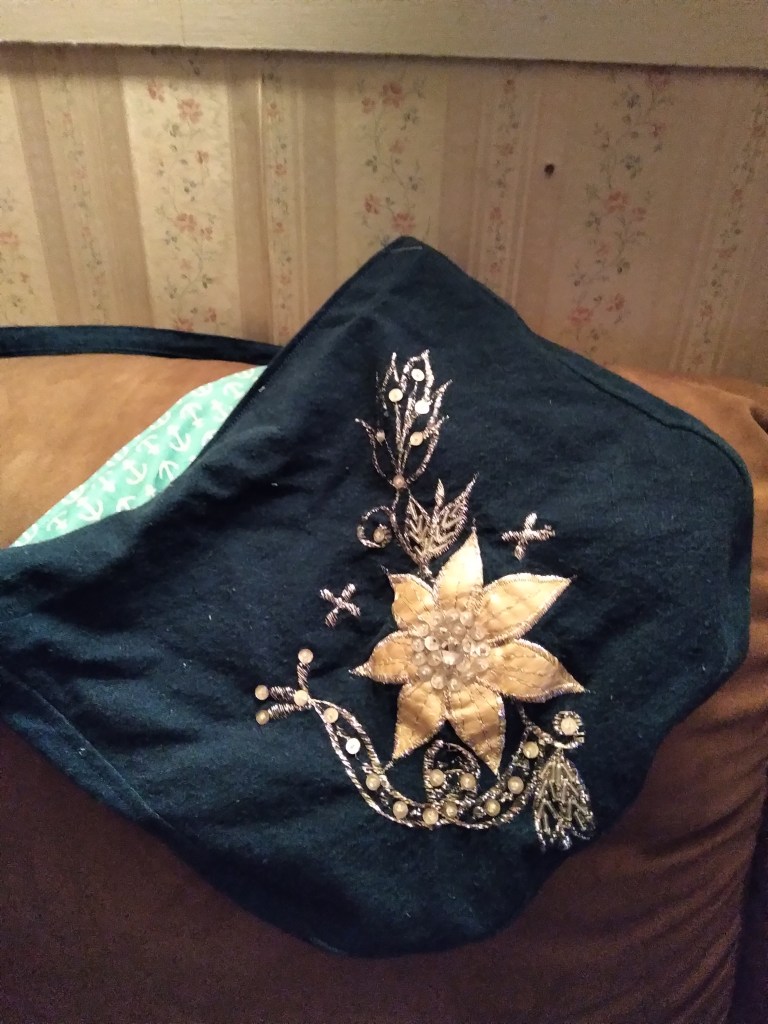
I create art in a lot of ways one of which is linked to needle crafts. I have designed quilts, dolls, and cross stitch patterns. Through the patterns I not only get to make the product itself but also get to share that time and effort with someone who wants to create that same piece of art.

My cross stitch designs begin with a sketch…

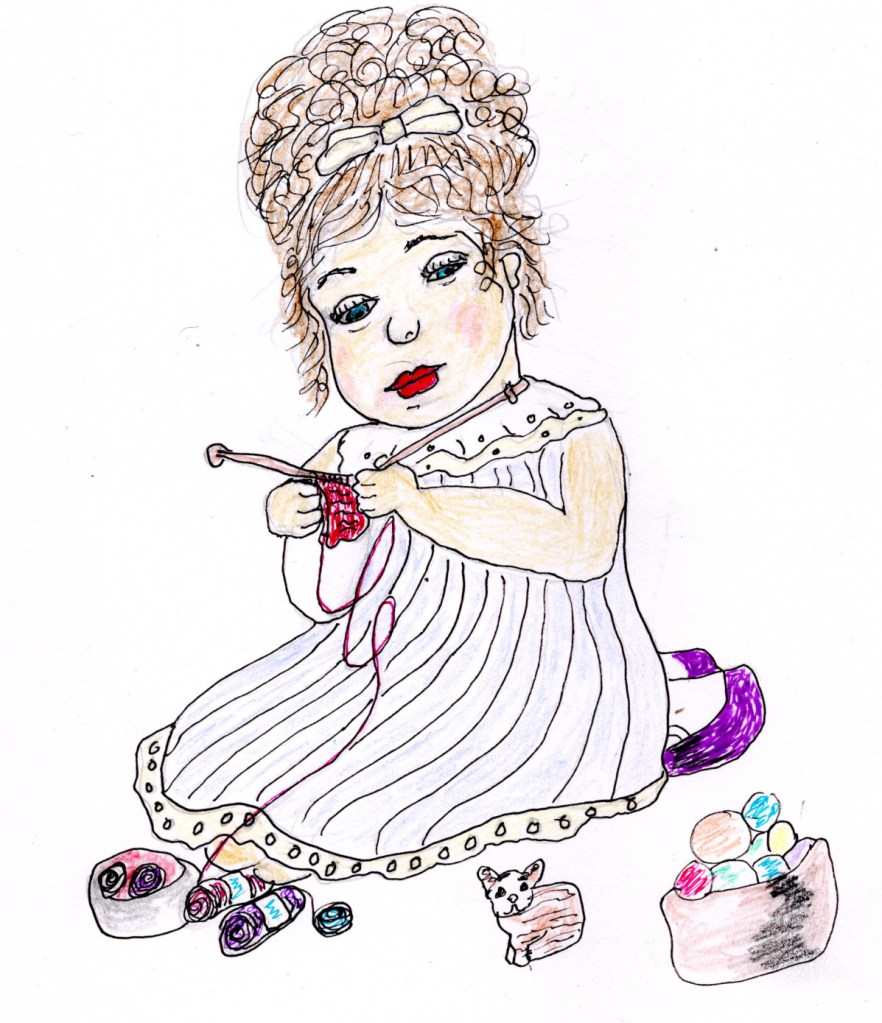
A simple rough drawing colored just enough that my cross stitch program will recognize it. Once it is scanned into the program I change or add colors in the pattern itself to enhance it. In order to make it client friendly I have to merge a finished photograph and the pattern to a PDF file that is easily transferable. Now I have a marketable product. Here’s what the pattern looks like now:

https://www.etsy.com/listing/4365265102/pattern-cross-stitch-girl-knitting

A lot of time project are by trial and error but I can also convert a favorite photo into a cross stitch project by simply importing a jpeg file into my cross stitch software. In seconds the conversion is complete and a favorite picture becomes another form of art. Here’s a sample:
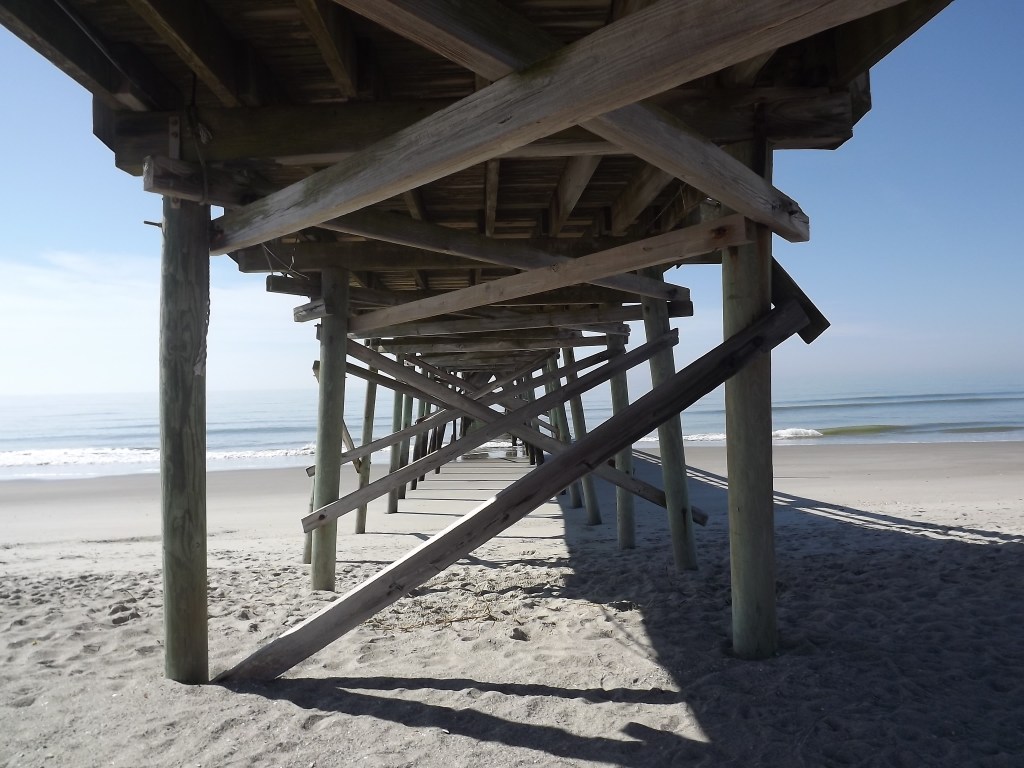
The original photo…

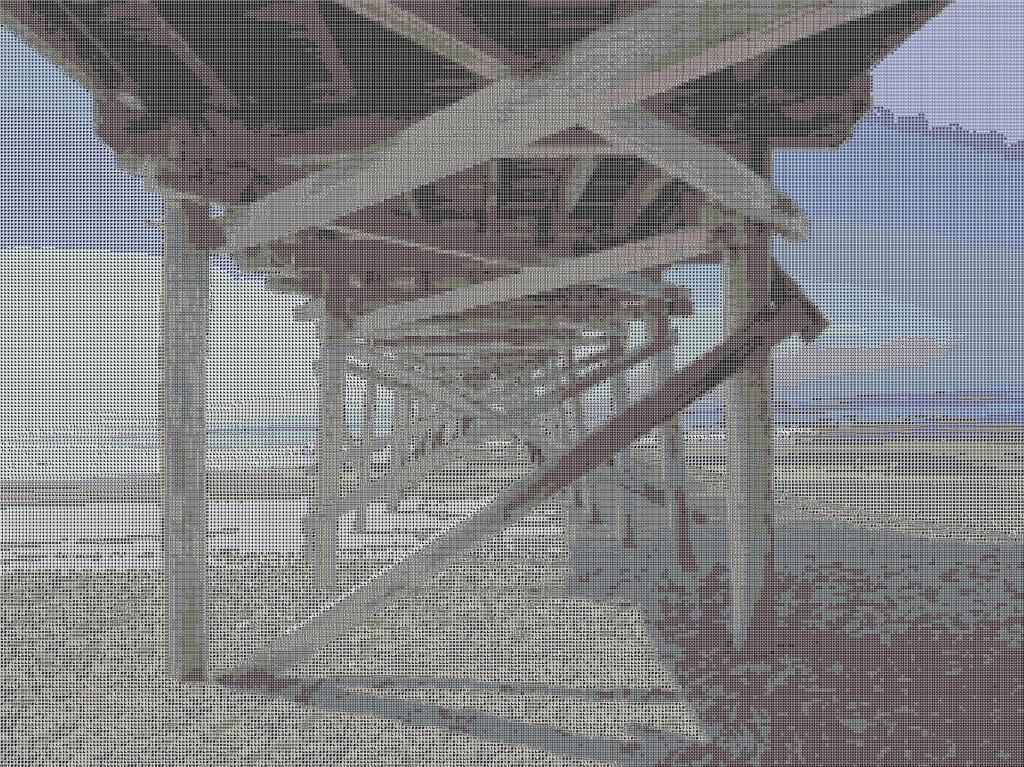
to the graphed pattern.

Interested in expanding the art you already create? Begin with a photograph or a painting and the rest is just a process. Now you are taking what you already know and have created and making it digitally accessible.

Have fun with it.

PS all photos and images are under copyright by me.

Machine Quilting – A New Adventure

While I have been hand quilting for many years, I decided to try my hand at machine quilting. The project is a rag quilt.

After seeing pictures and videos online, I decided to take the plunge. I really have always been against machine quilting because that takes the art out of quilting. What made me decide to try this is I want to make some lap quilts for donation, and to be able to serve more people, the speed of machine quilting would be beneficial.

The picture above is just the first row of this baby rag quilt. For adult quilts, you would use 8-10″ blocks, but for this baby rag, I decided to go with a 4″ block.

The only thing I hate about quilting is cutting out the pieces. I just happened to have a 4″ template, which made the chore easier.

For the middle of the squares, I chose a nice fleece instead of batting so that the thickness would be consistent.

I wanted it reversible, so I put equally bright blocks on both the front and the back. To join the blocks, just stitch the seam after you make a sandwich of (top, fleece, and bottom) to the next block. After you get the seam done, clip the seam roughly every quarter inch, making sure you don’t clip the seam you just made.

When you decide to stitch, the Xs across the block is up to you. If you are working on a larger quilt, I would probably do it before you go to the next block. Because I am doing a small quilt, I am doing by the rough.

Things you will for this project:

1. Fabric for top squares (amount depends on size quilt you want to make).

2. Scissors

3. Rotary Cutter

4. Cutting Mat

5. Ruler (to help in trimming rows)

6. Filler (batting or fleece) the amount would be the same as for the backing.

7. Fabric for backing

I am looking forward to my next day of quilting. How about you?

Have a great day!

A Rainy Day Project

I get especially bored on a rainy day, so I try to find a project or two to kill some time. Here is one of today’s projects.

You don’t have to spend lots of money to have nice linens. You just have to have a stash of fabric. I never seem to have enough pillow cases, and plain Jane cheap ones are not for me. This is the pillow case I just finished:

Standard Full Size

This is an easy project even for a beginner. Want to try it yourself you can follow this great video that I followed. It’s easy, attractive and cheap. This size pillowcase will cost you anywhere from $6 to $35 retail. My cost for this project is roughly $3. 

Here’s the video:

Pull out your scraps and dust off your sewing machine and get to stitching. You guys can do this one, too.

Have a great and productive day.

Cross Stitch Designs

I don’t just do needlework/crafts, I really love to design my own. While I have designed quilts, crochet and knitting projects, my real passion is designing cross stitch patterns. More and more I am getting into the design phase as I have time and creating the actual patterns.

I actually thought about teaching classes but that might tie up too much time as I have lots of interests. Basically, I think the love of design stems from the fact I am very analytical and love to disect things. One of my biggest pet peeves is to start a pattern that I have purchased only to find the pattern was not written correctly and have to sit down and make the corrections to it so it did work. With cross stitch that doesn’t happen too often, but I have a history as a photographer so designing cross stitch designs just came naturally.

I am currently posting some of my designs on payhip.com but will also try to list some in the future on Ralvery as well. If you have not tried counted cross stitch as it is very relaxing and can create beautiful pieces of art.

https://payhip.com/b/2XztV

The above link is for this pattern:

Beach Houses (c) Sue G. Heath 2024

This is not a real large pattern so it makes for a good project for the intermediate stitcher.

Busy fingers make a happy woman. God bless you all.

A Stitch In Time …Quilting

Today I finished my biggest project to date, a full size quilt. Take a peak.

Chicken Quilt

While it has not made it to my bed yet because I literally just finished it minutes ago but was so excited about its completion I wanted to share.

While I get it is not a complicated pieced quilt, and I have done those, this one has gotten me through this nightmare that we have endured the last few years.

Yes I can hear the comments now, “It took you two years to complete I could have made several in that length of time”. Yes, I get it could have been done quicker. Let me explain, this is not my only hobby and was not my only project. This was also not quilted on a frame but in my lap. The squares and borders were sewed together a row at a time after the individual squares were quilted.

It has not been a complicated project but a labor of love. Love of the art of quilting. I actually acquired the fabric for this quilt several years earlier on a camping trip to the mountains. We landed in Marion, NC. It is a quaint small town that has barn quilts on almost every single building. In addition to being a great photo op it gave me the opportunity to drop by their little quilt shop.

For two years the fabric sat in my stash of other potential quilt options. When Covid hit I said it was the perfect time to start the quilt. Striving for perfection was not the objective, just to get a finish during a stressful time was the goal. So that I would not get stressed over the quilt I also worked on other projects.

Two weeks ago my husband says to me “Are you ever going to finish that quilt”. He was anxious as well to see it complete. So I put my other projects aside and finished seaming the last row of blocks. The last two days have been spent gently binding edges. This morning my husband cooked breakfast. When he brought breakfast to me, I was in my office where I could watch the birds and our favorite rabbit. Again the quilt bundled in my lap would probably look a “hot mess” to most people. I proudly showed my husband the last few stitches I had to make. And his remark, “Are you going to sell it?” No I responded because two years of my life was tied up in this quilt!

It might be a while before I undertake another project like this but do plan to make some lap quilts for donation.

If you have never quilted but would like to learn check out your local community College, quilt shops or center for the arts for classes.

Thanks for following and don’t forget to share this blog.

Have a great and blessed day.

From Rags To Bags

At a time when luxuries are out of the question, I try to recycle when possible. Here’s a recycle that is both practicle and completely free.

This piece of appliqued denim was formerly a section off the bottom of a midi skirt from the 80’s. The size of the applique dictated the size of the bag. After squaring off the block I rounded the corners at the bottom slightly. I then used this piece to cut the back and the lining sections. I then cut from the remaining denim I had about a two inch strip that would go about the bag section to form bottom and sides. Make sure you also cut this from your lining fabric. For strap cut another two inch strip for your desired length. Stitch the appliqued section and the matching back section to the side strip being careful to follow the curve at the bottom. For the strap, fold and stitch the length and turn. Press flat after turning and top stitch each side of the strap. Stich the strap ends between the denim and the lining. Folding the top of the denim and lining under, stitch all the way around the bag making sure you catch the straps in place.

While this project was time consuming, it was still fun.

Hope you enjoyed this project and that you will create a recycle bag if your own.

God bless and keep stitching.