With Thanksgiving past us, I have been frantically trying to tidy up my craft room. I am bad about starting a project getting bored with it and then starting another one. This week I have gone back and finished two projects.
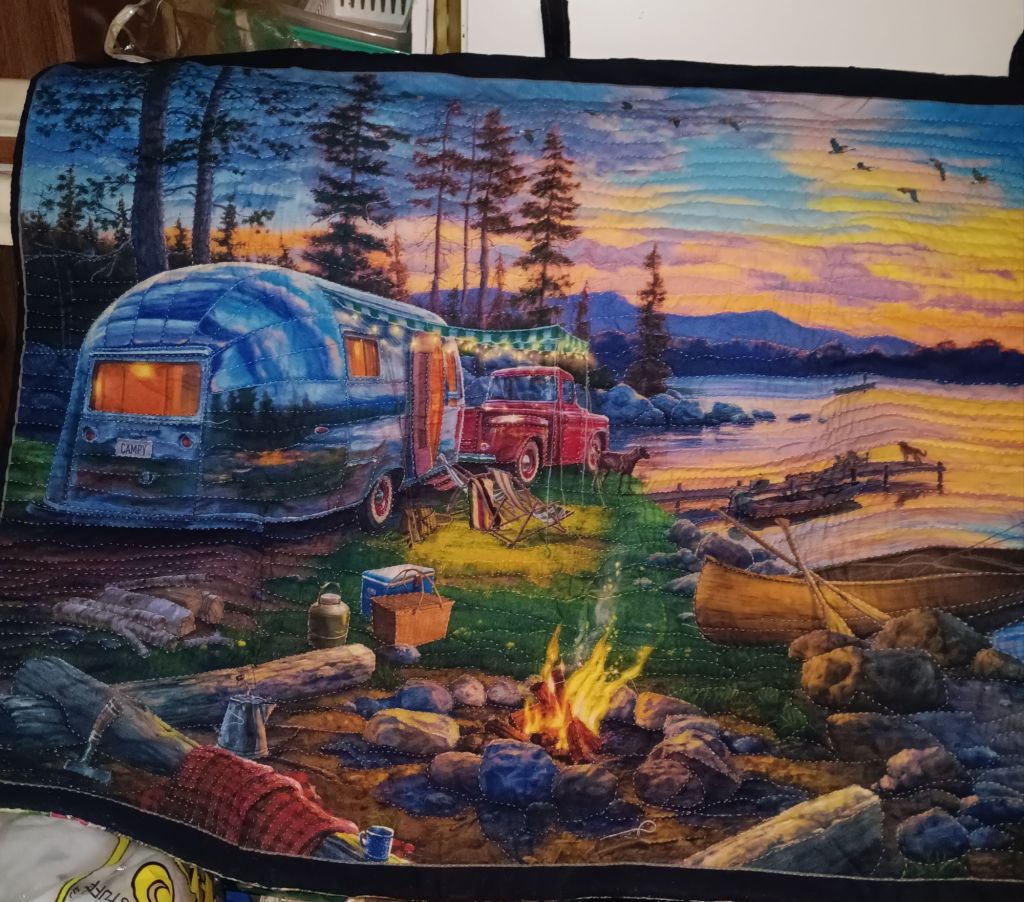
Project 1 – Incomplete Wall Hanging
Reversible
I had already quilted this but needed to hem it all around and add tabs for hanging.
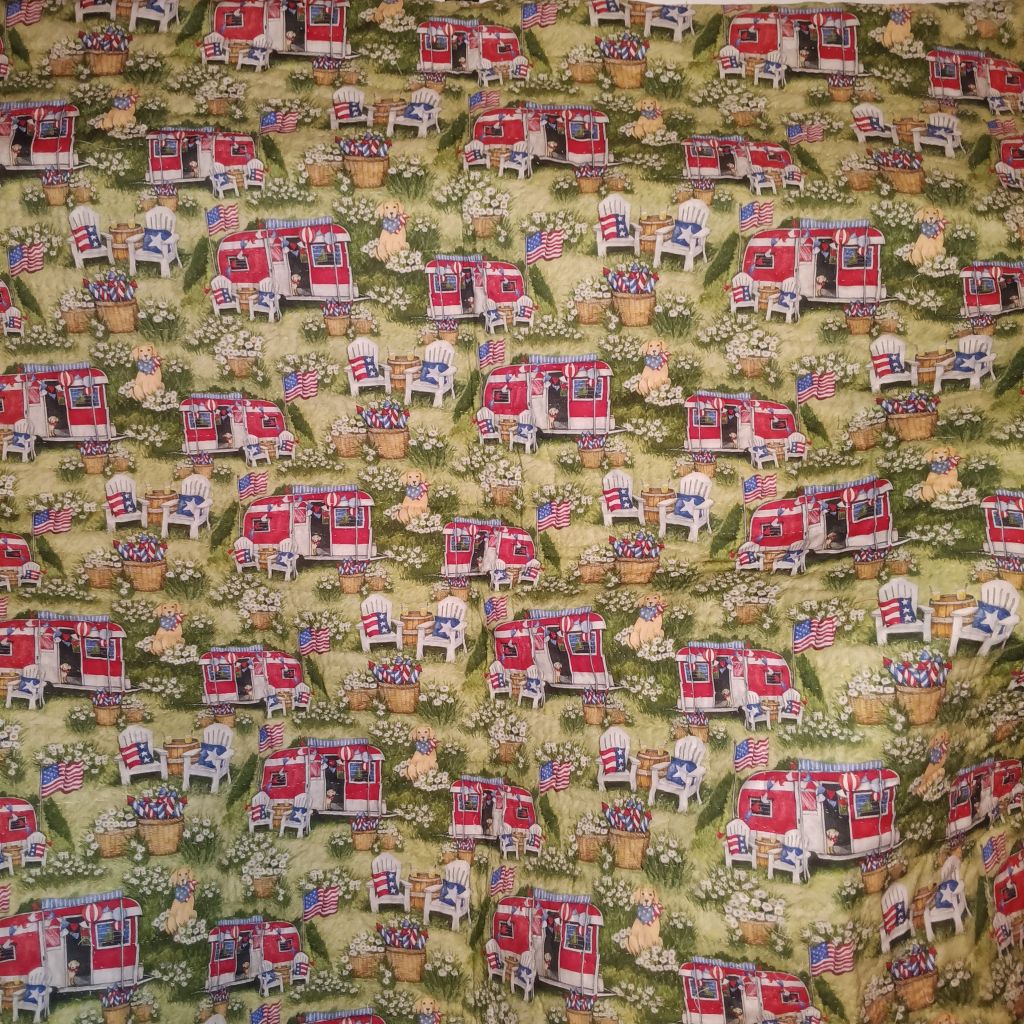
Project 2 – Table Centerpiece – Quilted
Respect For Farmers
This piece I had already quilted except for the border and the edge needed hemming.
While neither of these was a difficult project they were worth the time to finish.
You will be able to find these completed projects on my Marketplace page on Facebook.
Good morning my friends. As I continue on this artist journey I will pass on to you any tips and tricks I find.
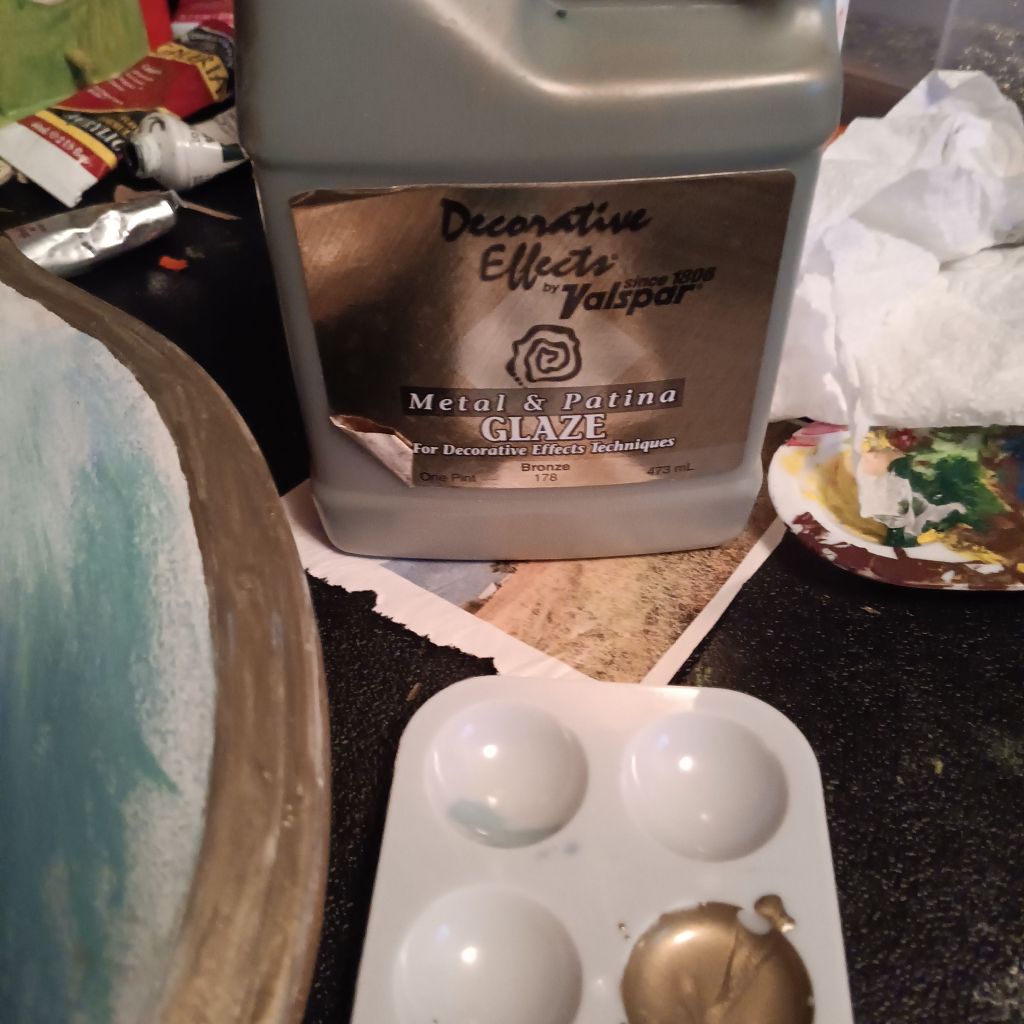
Glaze
When I initially unpacked my Dad’s art supplies after he passed I kept moving around this bottle of Glaze.
Over the years I did not find a use for it until today. Honestly, I really didn’t expect it to be any good since it had to be at least twenty years old. I shook it up and heard that familiar “slosh”. This plaque needed a little something on the edge.
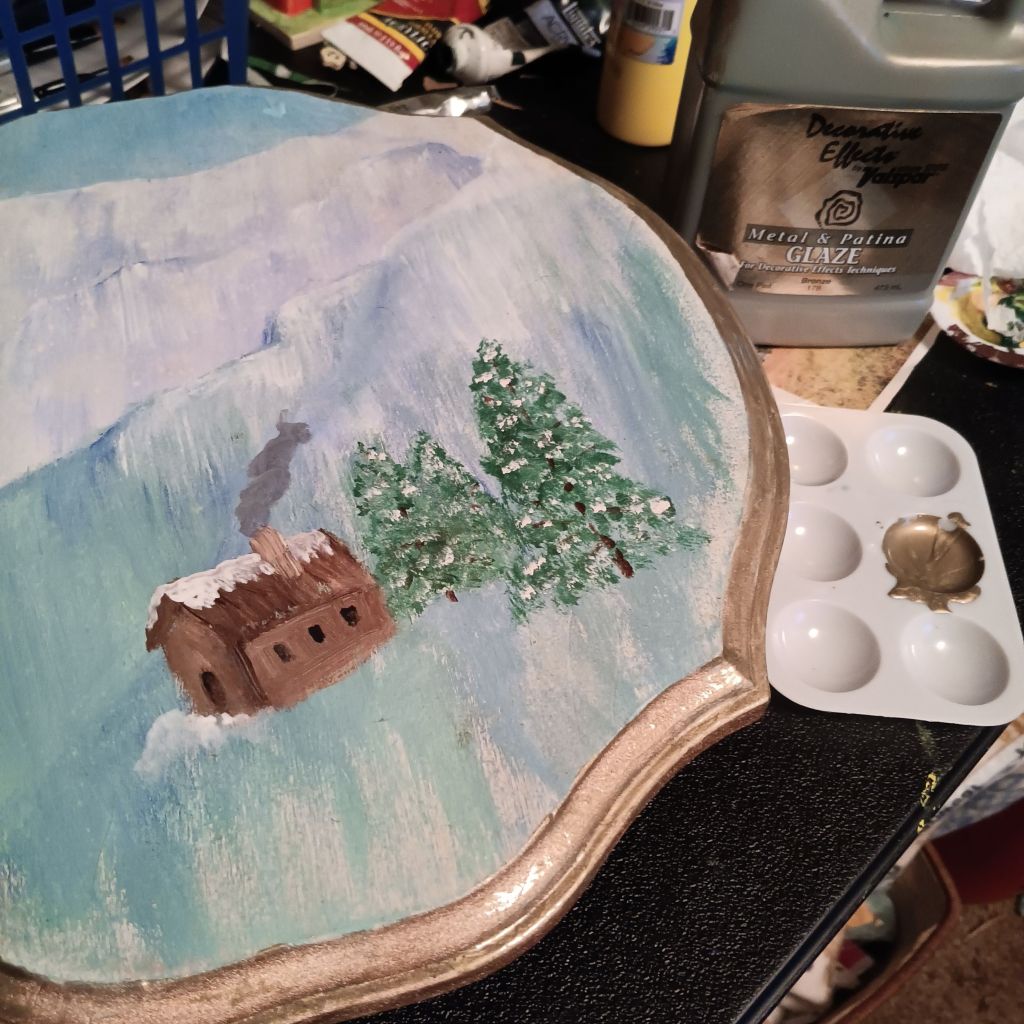
I carefully unscrewed the top and poured a little into my palette. With a half-inch brush, I waited to see if this bronze Glaze was going to do the trick. Standing back looking at it I decided it was definitely worth the wait.
Don’t be afraid to experiment. The thing you pass on might be the one thing you should have done. Will definitely be glazing again.
If you are not making enough money selling your drawings and paintings you do have other options. Turn your art into sellable products.
For instance, I create art both digitally and through photography. I take an image and scan it into my computer. At this point, I can import the image into my cross-stitch software to generate a pattern or upload it to a print-on-demand company that will transfer the image onto their products like cups, T-shirts, etc.
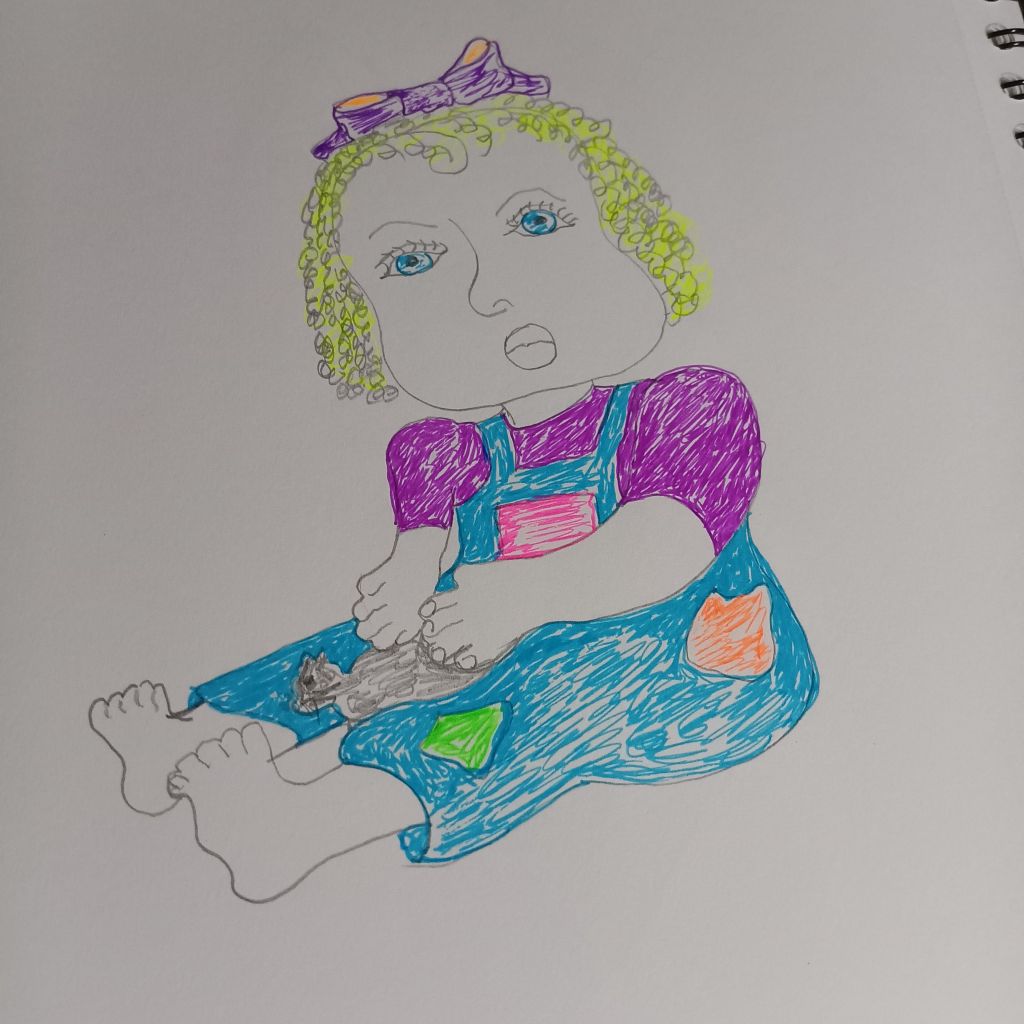
This is the image I am going to start with. This is the initial raw sketch.
From this sketch I am going to create three-way products, painting on a canvas bag, cross stitch pattern and print-on-demand products.
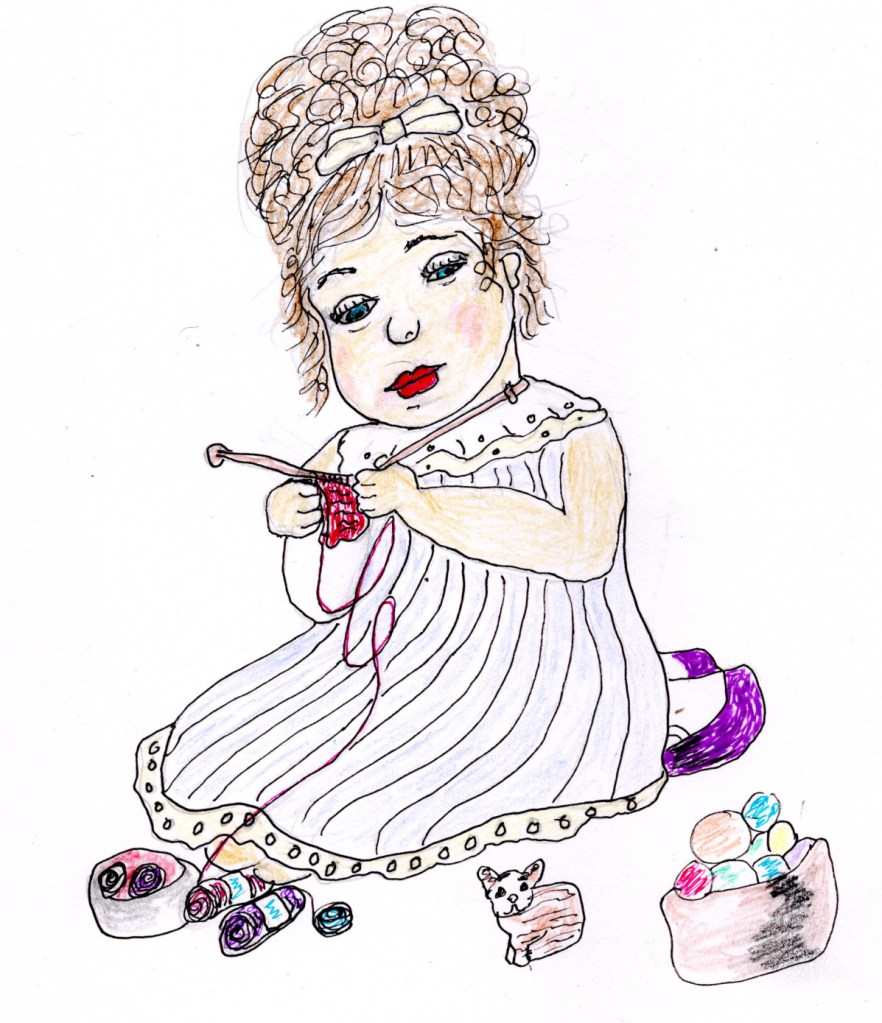
This is a work in progress for the painting on a bag project.
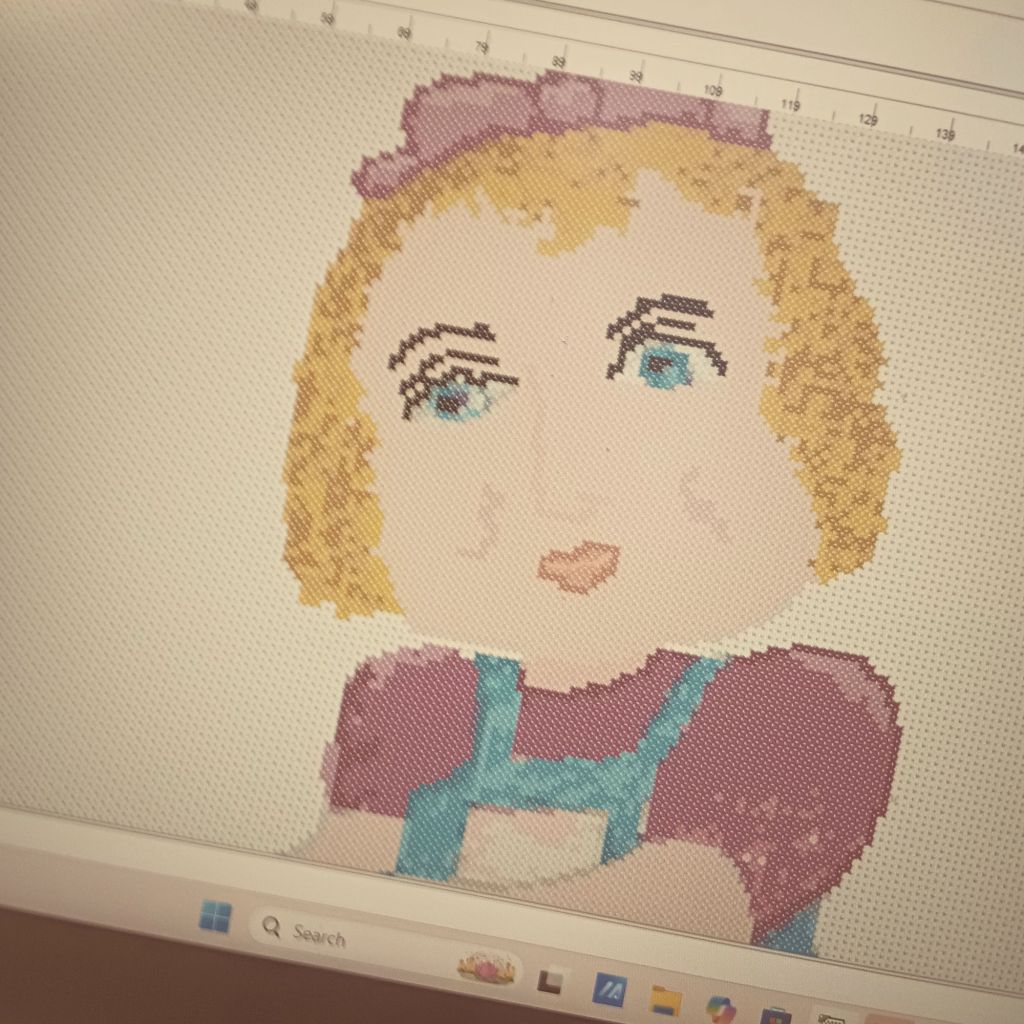
Within just a few hours I was also able to initiate the creation of this pattern from this same design.
My last step in this diversification process will be when I upload the original image to a print-on-demand site to print on already established products like cups and tees. You now you should understand the process of diversification in art. Now I am not saying you have to do it the way I did but it is a way of keeping your art alive and monetized.
So artists get cranking out that beautiful work and let’s see the metamorphosis begin.
While I enjoy all kinds of arts and crafts I think my bigger joy is in design. When you can take a concept to a finished product it is always rewarding. It’s that long road from a simple idea and the steps that follow that make it intriguiging.
I create art in a lot of ways one of which is linked to needle crafts. I have designed quilts, dolls, and cross stitch patterns. Through the patterns I not only get to make the product itself but also get to share that time and effort with someone who wants to create that same piece of art.
My cross stitch designs begin with a sketch…
A simple rough drawing colored just enough that my cross stitch program will recognize it. Once it is scanned into the program I change or add colors in the pattern itself to enhance it. In order to make it client friendly I have to merge a finished photograph and the pattern to a PDF file that is easily transferable. Now I have a marketable product. Here’s what the pattern looks like now:
A lot of time project are by trial and error but I can also convert a favorite photo into a cross stitch project by simply importing a jpeg file into my cross stitch software. In seconds the conversion is complete and a favorite picture becomes another form of art. Here’s a sample:
The original photo…
to the graphed pattern.
Interested in expanding the art you already create? Begin with a photograph or a painting and the rest is just a process. Now you are taking what you already know and have created and making it digitally accessible.
Have fun with it.
PS all photos and images are under copyright by me.
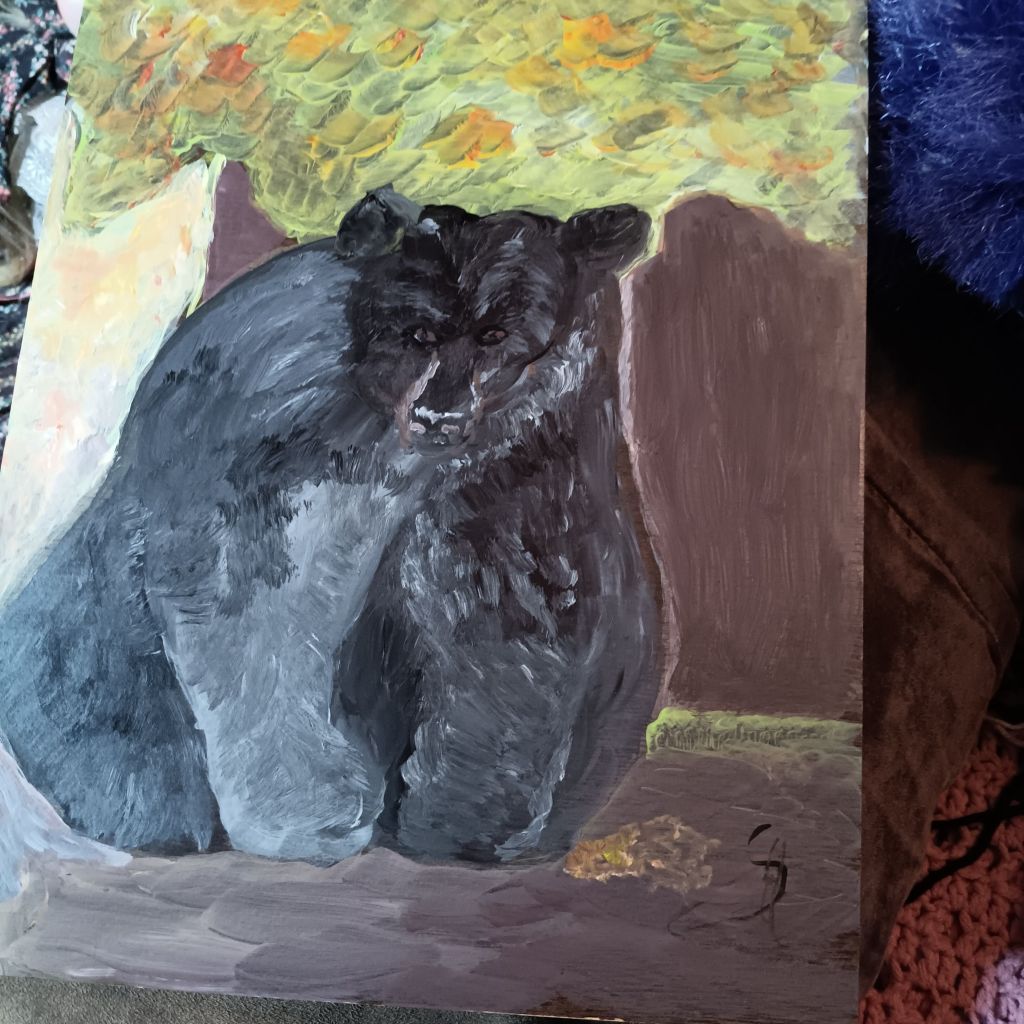
Well, this week I have ventured outside of my comfort zone. Normally I stick to canvas and to landscapes. This is what I did differently, thanks to my art instructor. I painted an animal instead of a boring landscape. He’s a bit rough but developing his own character
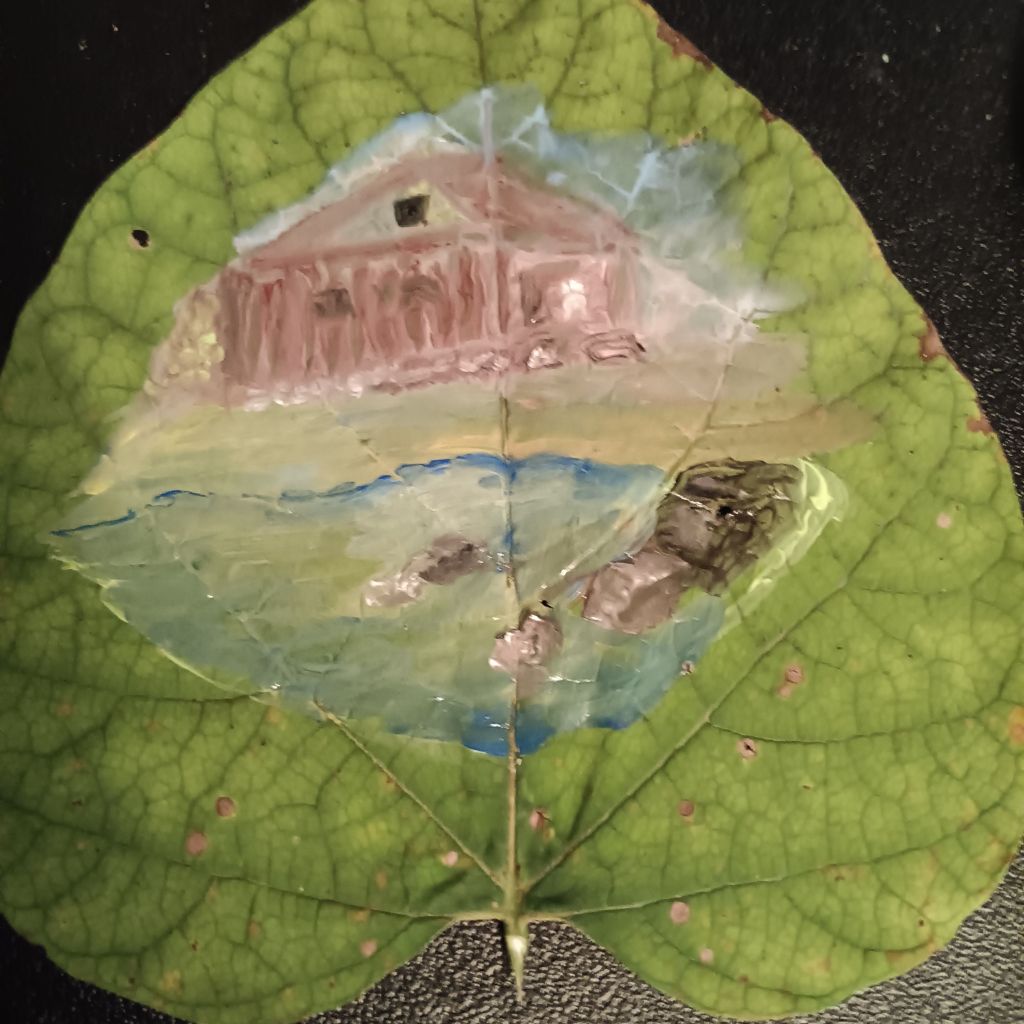
Today I decided to ditch the canvas and paint on a raw live Catawba leaf. I wasn’t prepared for how much the leaf would absorb the acrylic paint. It’s going to take more paint since this one leaf spans about two hands wide. Going to need more paint still but here is my little cabin next to a mountain creek.
I like experimenting with different textures, sources, and new projects. Previously I have painted on wood, rocks, and metal watering cans.
Don’t be afraid to explore the unknown. Feel what you paint instead of just laying down strokes.
People often ask me how I create the things I make. It is a process but one I have come to love. To tell the truth I think it’s the design process I prefer over the actual creation on some things.
Things pop into my head often without invitation particularly on sleepless nights. Why these things could not present themselves during the day I will never understand. It’s the idea, the first thought, the inspiration you see that leads down that colorful road of design.
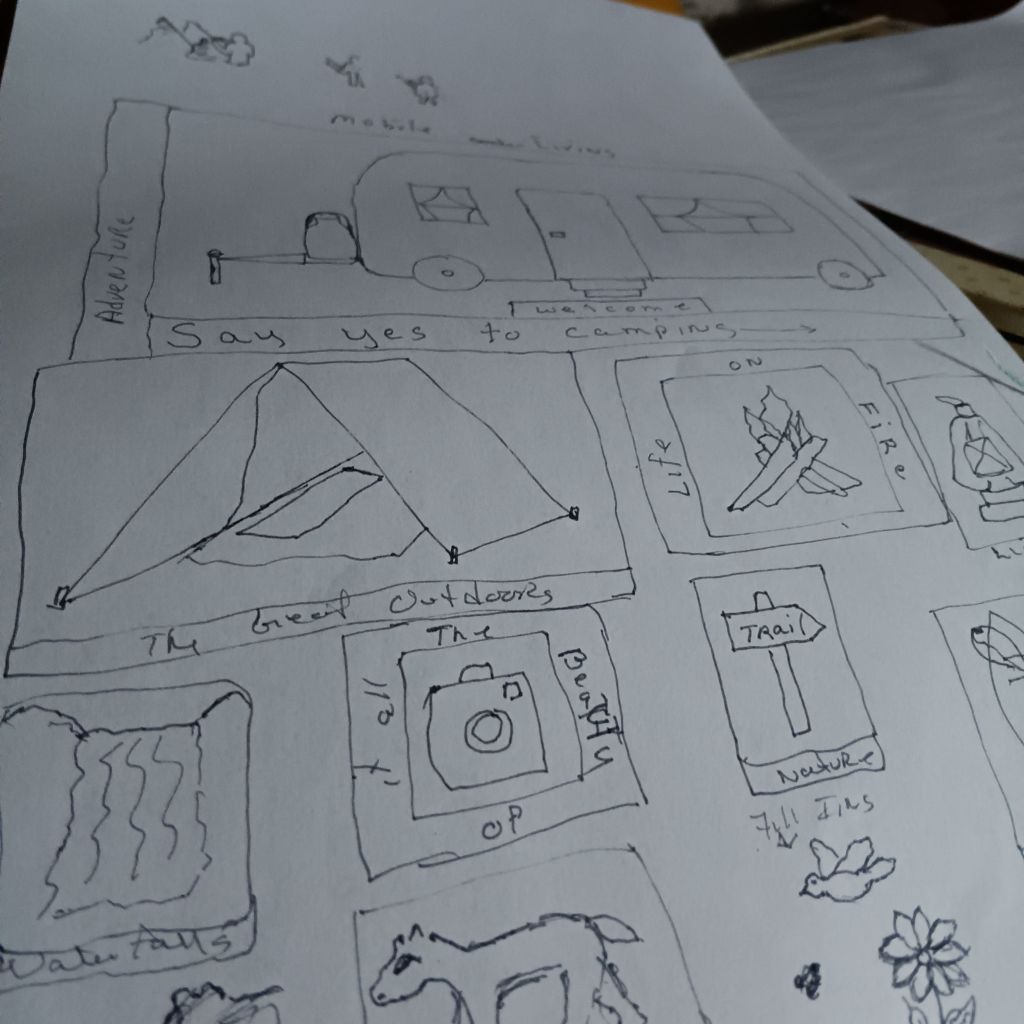
Last night when I could not sleep I was sitting up working on a cross stitch sampler when it popped into my head I should be creating my own sampler design. I put away my cross stitch project and grabbed some paper and a pen to start roughing out the design.
(C) Sue G. Heath Designs
The layout may change once I enter it into the computer, but you get the concept. Getting the idea on paper as soon as possible is important. Otherwise, it becomes a missed opportunity.
While I would like to have the time to work all of the designs I create, my many other interests don’t make it possible.
I just resurrected my shop on Etsy. Hopefully, I will be posting some of my designs there. I will keep you posted on that and provide the link.
I guess my drive to design somewhat stems from my childhood as I watched my father painlessly draw house plans.
What motivates you? Do you have a hidden skill or talent you have yet to explore? Why not test the water. Maybe you’ll create that next great invention. It all starts with just one idea.
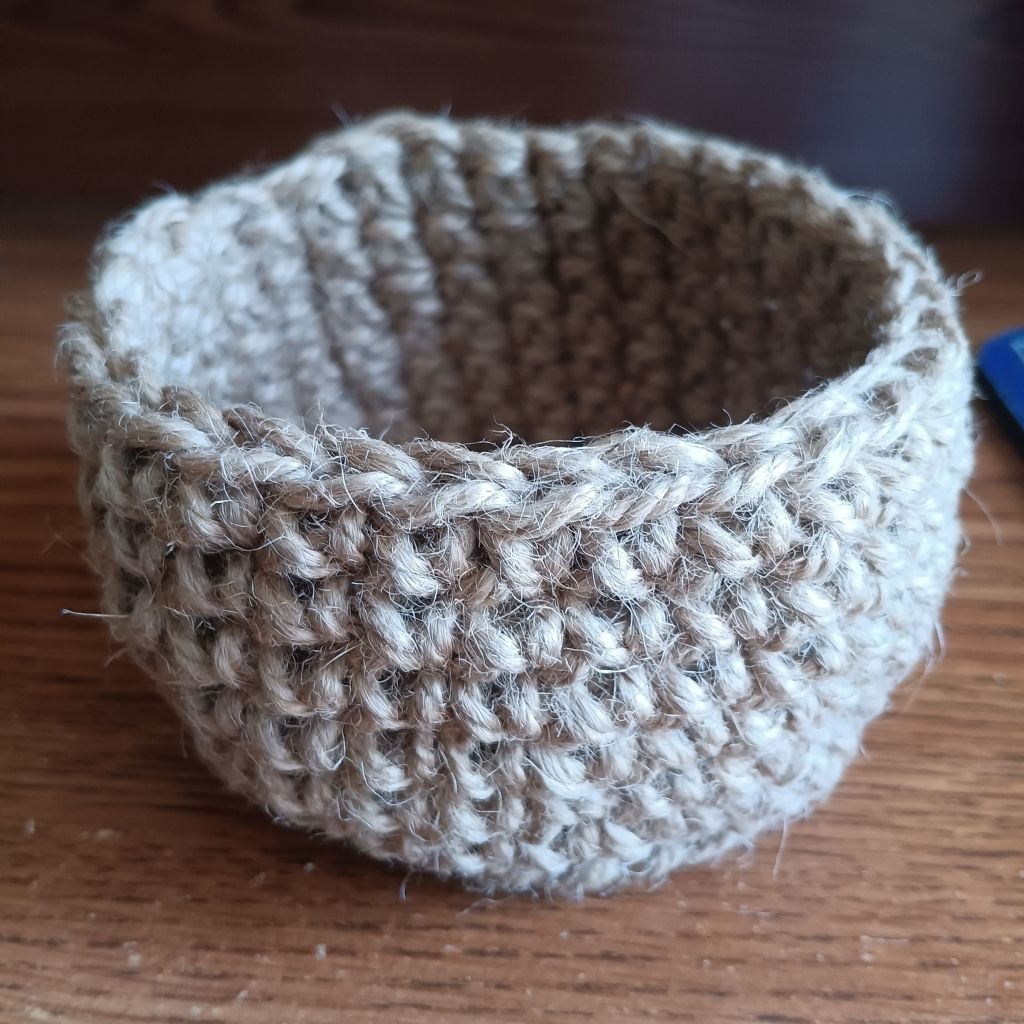
If you’re a little adventurous like me, working with yarn is sometimes not enough. Today was one of those times. On a recent visit to Harbor Freight. I picked up two rolls of jute…
My purpose at the time was to tie up some dishcloths, but then I decided to make this.
It’s just a wee little basket about 4″ wide and seven rows high. This would be just right to fit around a jelly jar, fill with loose change or those paperclips and miscellaneous items in your office.
Just begin with a foundation and then hdc around for four rows. Building the walls is done by changing to sc around, so after you get it the width, you want slip stitch to end that row, then sc through both front and back loops around. Work continuous around until you get the height you want, slip stitch to the next stitch, and finish off tucking in any loose pieces of jute.
Jute is not easy to work and tough on the hands, but small projects like this can still be completed and used.
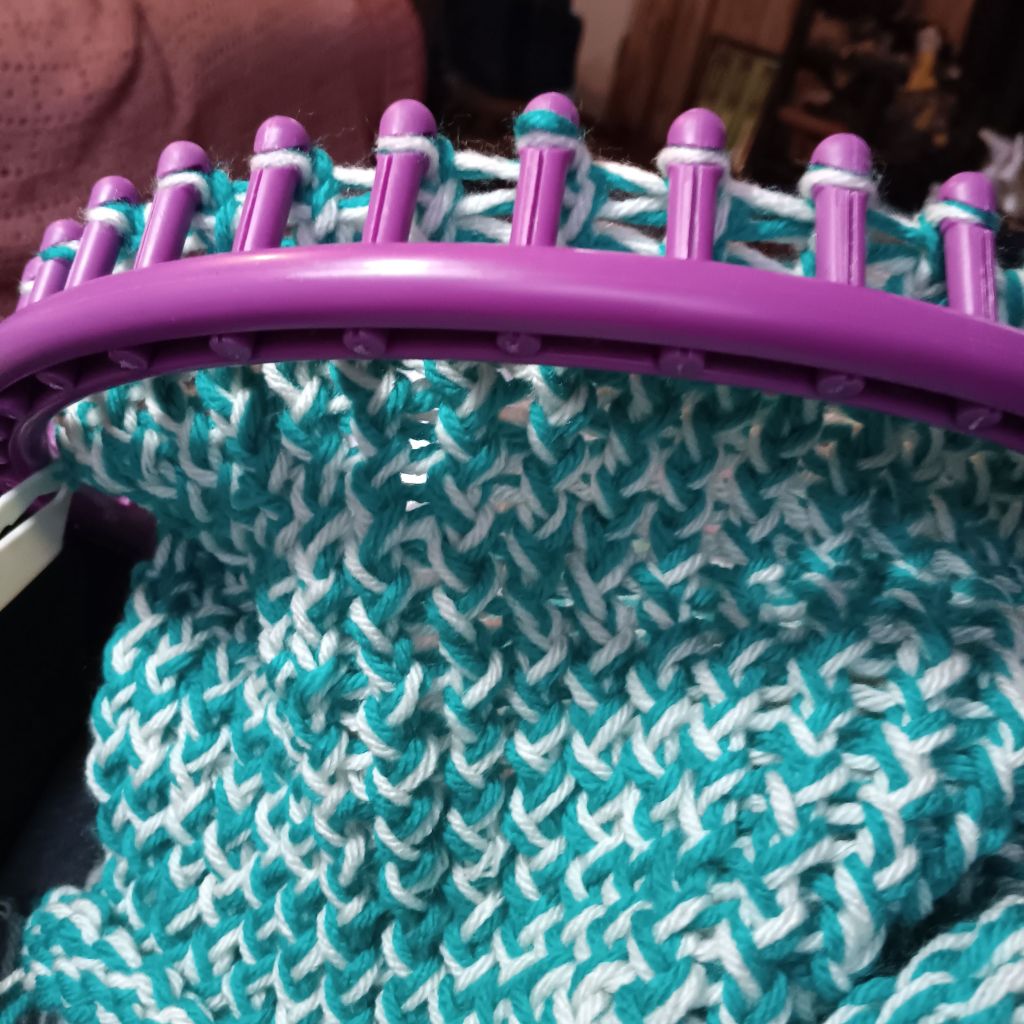
Typically, when I say these four words, it means I am using four or more double pointed needles to knit in a continuous circle. Well, today, I am using a loom to get the same effect!
The rows are not actually connected because I am making a blanket.
The loom is simple enough to work. You simply take your yarn and wrap around each post. When you are done with a row you continue wrapping.
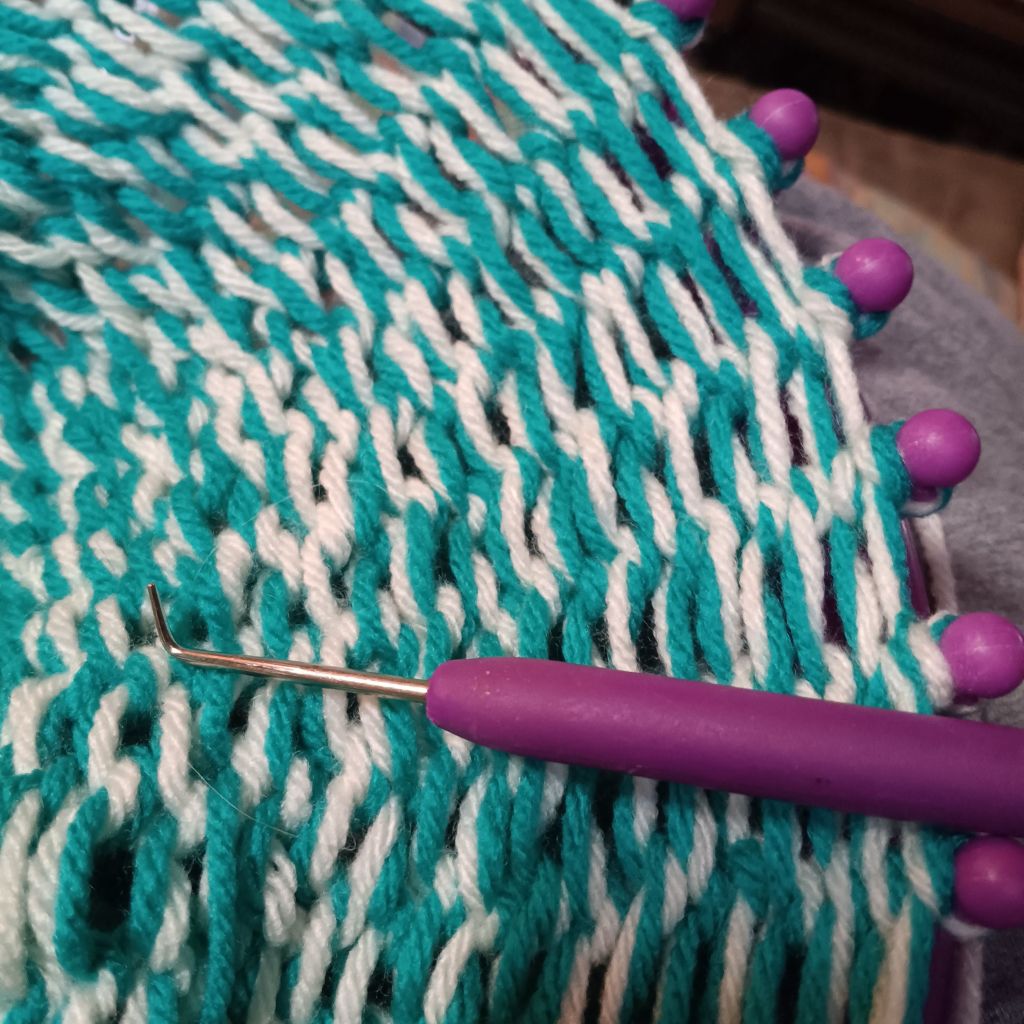
The hook!
This strange little hook is used to pull the bottom loop up, over and off the post to complete each stitch.
The result.
And yes, it does knit. For me, it is a little frustrating because I can actually knit faster.
I started this project when someone suggested it because of a shoulder issue. Almost gave up on this project but decided to continue even though it is a slower process.
If you have shoulder problems or arthritis and miss knitting, you might want to consider a loom. The looms come as a boxed set of various sizes, but you can also find some individual looms.
Get into the loom of things and find your project.
Don’t forget to like and share or buy me a cup of coffee.
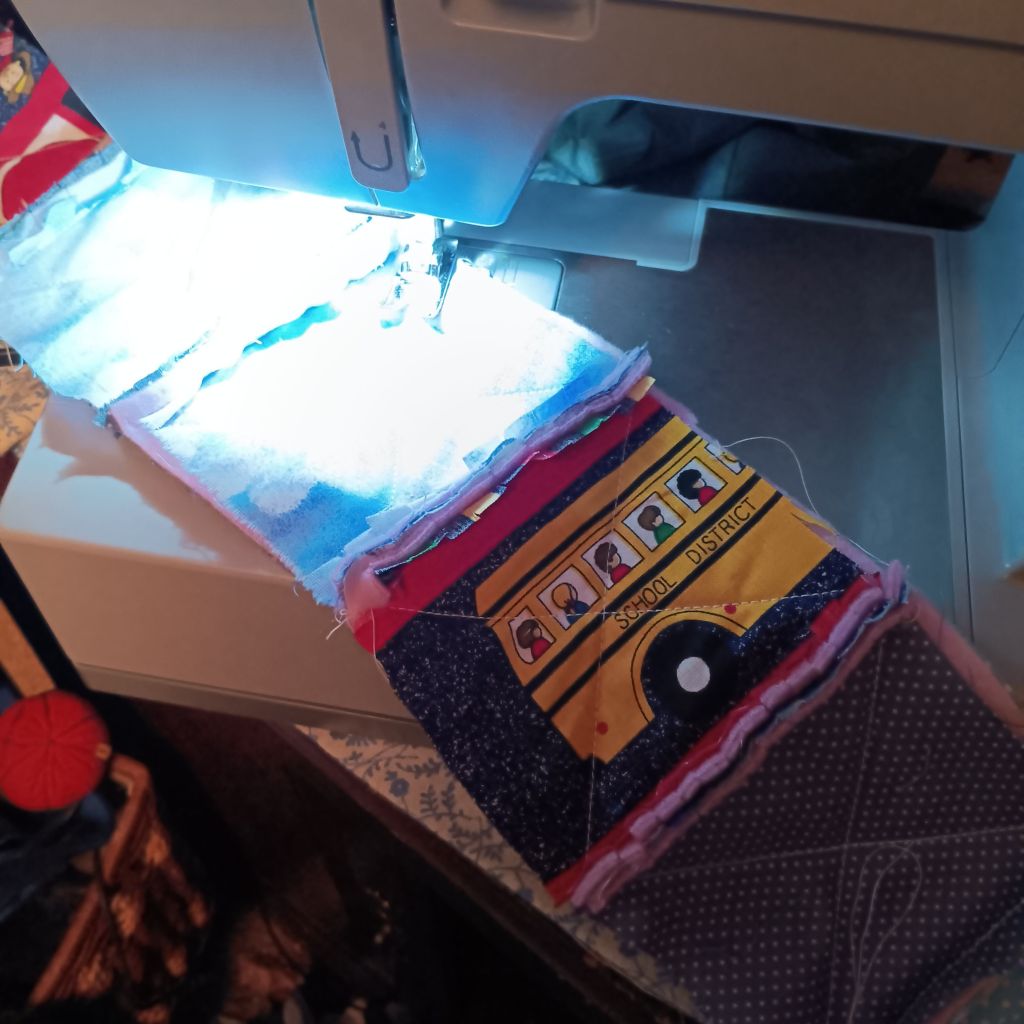
While I have been hand quilting for many years, I decided to try my hand at machine quilting. The project is a rag quilt.
After seeing pictures and videos online, I decided to take the plunge. I really have always been against machine quilting because that takes the art out of quilting. What made me decide to try this is I want to make some lap quilts for donation, and to be able to serve more people, the speed of machine quilting would be beneficial.
The picture above is just the first row of this baby rag quilt. For adult quilts, you would use 8-10″ blocks, but for this baby rag, I decided to go with a 4″ block.
The only thing I hate about quilting is cutting out the pieces. I just happened to have a 4″ template, which made the chore easier.
For the middle of the squares, I chose a nice fleece instead of batting so that the thickness would be consistent.
I wanted it reversible, so I put equally bright blocks on both the front and the back. To join the blocks, just stitch the seam after you make a sandwich of (top, fleece, and bottom) to the next block. After you get the seam done, clip the seam roughly every quarter inch, making sure you don’t clip the seam you just made.
When you decide to stitch, the Xs across the block is up to you. If you are working on a larger quilt, I would probably do it before you go to the next block. Because I am doing a small quilt, I am doing by the rough.
Things you will for this project:
1. Fabric for top squares (amount depends on size quilt you want to make).
2. Scissors
3. Rotary Cutter
4. Cutting Mat
5. Ruler (to help in trimming rows)
6. Filler (batting or fleece) the amount would be the same as for the backing.
7. Fabric for backing
I am looking forward to my next day of quilting. How about you?